A good beginner video editor lets you make the video you have in mind on the computer you own. iMovie, Clipchamp, CapCut, Shotcut, OpenShot and DaVinci Resolve suit different setups and projects. Import your footage, export a short cut and reopen the timeline before deciding how much of a new interface to learn.
You can spend a weekend editing and find out, five minutes before uploading, that a transition needs a subscription. Or you can finish the edit and discover the saved video looks softer than the footage you started with.
Start with the video you want to finish
A 60-second vertical clip needs a different workflow from a five-minute talking-head video. A school assignment can dictate resolution or file format. A family compilation needs little beyond cuts, clip order, and music.
Before comparing products, write a three-line project ticket:
- Computer: Windows, Mac, or Linux, plus the operating-system version.
- Original footage: Which phone or camera recorded it, and where the files are stored.
- Finished video: Vertical or horizontal, where it will play or be uploaded, required resolution, deadline, and spending limit.
Picture two first-timers: a student who needs a one-minute class video tomorrow, and someone starting a YouTube series who expects to edit dialogue and build longer scenes. The first needs a reliable route to a finished assignment. The second can take on a fuller editing workspace.
If a school, employer, or publishing platform specifies an output format, follow it.
Match an editor to your first project
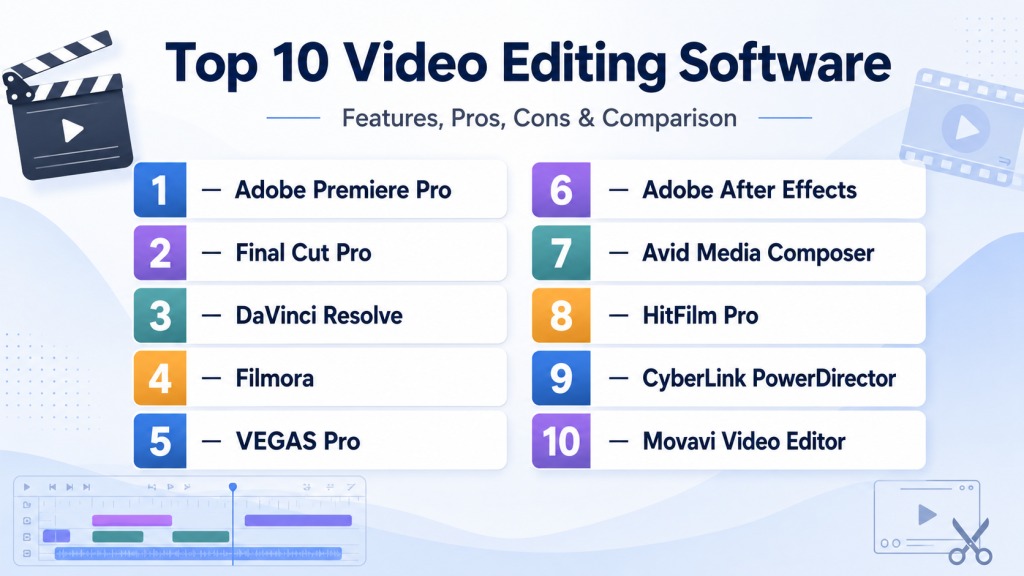
Start your shortlist with your operating system and the tasks you expect to do. The six options cover a wide range: iMovie is a simple Mac timeline, and DaVinci Resolve is a full production environment.
| Editor | OS / access | First project worth trying | What could rule it out |
|---|---|---|---|
| iMovie | Mac | Family clips or a school assignment with cuts, titles, and music | Needs a compatible Mac |
| Clipchamp | Windows app or supported web browser | Simple clips and titles with a straightforward export | Premium assets, account requirements, an unsupported browser |
| CapCut | Windows or macOS desktop app | Short vertical videos using templates and transitions | A resource you need is marked Pro |
| Shotcut | Windows, macOS, Linux | Desktop editing with clear timeline and export controls | 8 GB RAM for HD, 16 GB for 4K |
| OpenShot | Windows, macOS, Linux | Basic desktop cutting and arranging in an open-source editor | Your device can’t handle the footage or export |
| DaVinci Resolve 21 | Windows, macOS, Linux | A broader editing environment to grow into | A needed feature is missing from the free edition, or your computer can’t run it |
These picks come from product documentation, not speed tests.
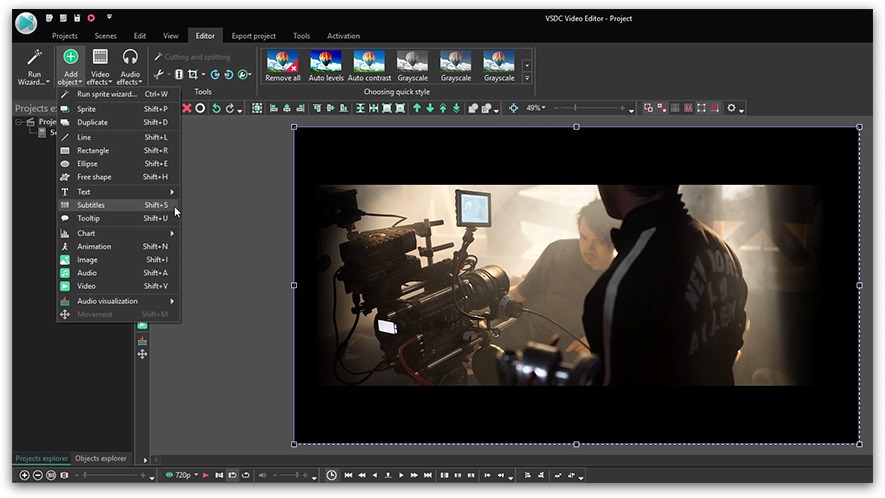
Shotcut documents proxy editing as one option for demanding material. OpenShot is an open-source desktop editor distributed under GPLv3. Blackmagic offers a free and a Studio edition of DaVinci Resolve, plus training for its wider toolset.
Cross out options that fail the operating-system or essential-feature filter. Keep up to two for the checks that follow.
Check what your free export includes
A free editor only helps if your project can reach a finished file. The usual beginner trap: an effect works fine on the timeline, then turns out to be paid when you export.
Microsoft says eligible free personal Clipchamp projects export without a watermark at up to 1080p, provided the edit uses free assets and features. If the project contains paid elements, remove them or pay. Microsoft’s Clipchamp guidance separates that case from a normal clean export.
CapCut’s Pro export guidance explains that even one premium resource can trigger a subscription prompt. Swap it for a free alternative and the export can go ahead.
| Editor or edition | What’s free | What can block export |
|---|---|---|
| Clipchamp personal free | No watermark up to 1080p with free features and assets | A paid asset or feature |
| CapCut free workflow | Projects that use free resources can be exported | A Pro effect, template, audio resource, or other premium feature |
| DaVinci Resolve free | A separate free edition | A function that belongs to Studio |
| Shotcut and OpenShot | Open-source desktop editors | Format and export compatibility must fit the project |
A watermark is a visible mark on the output. An export block stops the file from being produced at all under your current plan. The difference decides whether a free version meets an assignment’s delivery rules.

Check the export options and every Pro-marked element before you put hours into the edit. If you can’t remove them, work out the real charge and renewal terms for your version and account.
Check your computer and footage
For each shortlisted editor, check the supported operating-system edition and the published hardware requirements. Then import a clip like the ones you’ll edit.
- Codecs: MP4 and MOV files can contain different video codecs, and the source codec affects whether the footage imports.
- Shotcut: It lists minimum RAM of 8 GB for HD editing and 16 GB for 4K.
- Browser-based editors: They can require a compatible browser, account access, or a connection.
Set the project format before editing
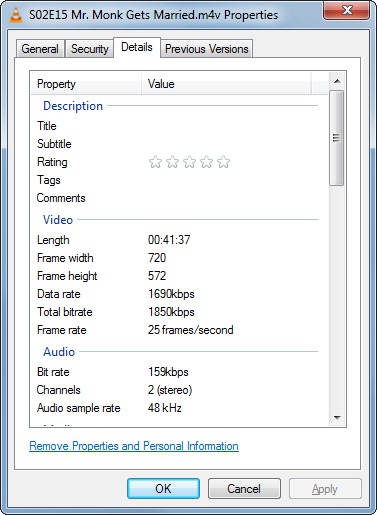
Resolution is the size of each frame. Frame rate is how many frames play per second. A 1080p project and a 60 fps project describe different properties: the first the image, the second its motion.
The timeline has its own settings, and the exported file has separate ones. A high-resolution export preset can’t restore detail or motion the timeline already handled differently.
In Mac iMovie, the first clip you add to the timeline sets the project’s resolution and frame rate. The File > Share > File export dialog has its own Resolution menu. Apple describes the first-clip behavior in its iMovie project guide.
One new iMovie user ran straight into this:
I just started using iMovie because I need to make something quick. I genuinely can’t believe there is no way to specify resolution and framerate. It seems it’s set by the first clip added. What the hell is that? So, now I have to get, install, and learn some other software, to make a video with my desired settings, then save a dummy clip and import it into my timeline, just to set three values in official software from Apple in 2025. Have I got that right? Seriously?
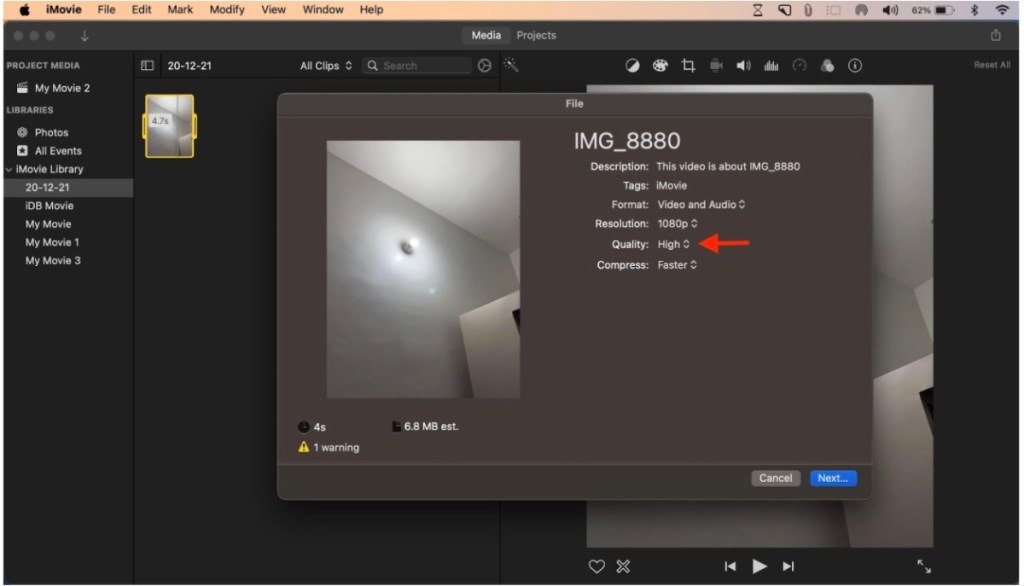
A Mac editor who wants a 1080p file from 4K footage can pick an export resolution, but the first timeline clip still sets the project’s underlying format. The order matters most when source clips have different frame rates.
In Shotcut, Automatic Video Mode uses the resolution and frame rate of the first video added to the project. If an image or audio file comes first, it defaults to 1920 × 1080 at 25 fps. Add a 30 fps video first and you get a 30 fps timeline, even when later footage is 60 fps.
Check the timeline resolution and frame rate while the project is empty or nearly empty, then select the mode you want before you start editing. To understand what those settings control, see how an editable project differs from a rendered video.
Make a short edit and inspect the exported file
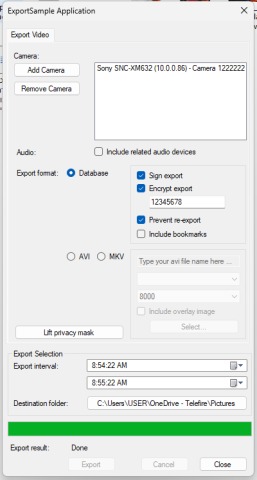
A test with your own footage answers what a product page doesn’t: can this editor finish your job? Keep it to 20 to 30 seconds.
Use a clip like the material you’ll edit and do one full pass:
- Import: Bring in one or two original clips from the device or folder you’ll use.
- Cut: Trim the footage and join clips if the project needs it.
- Add: Place a normal title and, if required, a short piece of licensed audio.
- Export: Produce the target file at the project’s output settings.
- Inspect: Play the saved video and check its dimensions, frame rate, sound, and look.
A clip can look fine in the preview and come out soft in the export. One Shotcut user got an output much softer than the original clips:
I’ve a string of 1080p HD videos from YouTube. I threw them together in shotcut. When I export the new product, everything looks 720p at best. For export settings, I simply selected YouTube and turned the quality under codec up to 75%. What am I missing? Is it possible that the video file is properly storing the 1080p video, but I’m not viewing it correctly after export?
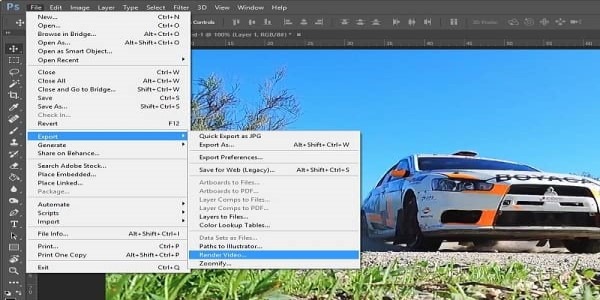
The thread never found the cause. Codec quality and frame size are separate settings, and a soft picture can come from the source quality, the timeline resolution, the export configuration, or playback.
A vertical short cropped the wrong way fails even if every transition is smooth. A talking-head video with missing audio fails too. The trial is done when you have a playable file with the orientation, sound, and output properties from your project ticket.
Keep the project and original media accessible
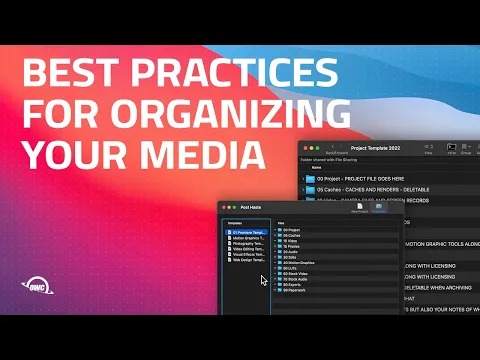
An exported video, often an MP4, is what other people can play. The editable project records your cuts and other editing choices. The original video and audio files supply the pictures and sound those choices point to.
Some desktop projects reference footage at its existing location. Move the folder, remove a drive, or delete a source clip, and the project can lose its references when you reopen it.
Clipchamp storage depends on the account and project. Personal Clipchamp processes imported media locally. Optional content backup can store copies online, and some personal projects use OneDrive-backed project storage. Work and school projects use organizational OneDrive or SharePoint for project materials, including assets and exports.
One Clipchamp user reported projects missing after being redirected to a different version:
Today, I find that Clipchamp has directed me to a better version. When I eventually got it up and running, all my projects had been lost. Microsoft identified they had a problem and are working on it, and recommended I go to the web version to access them. I found that the web version had also no record of my projects. Looks like I have lost them. Good work Microsoft.
The report described missing projects, and replies in the discussion described recovery. What recovery involves depends on the account type, the project location, and whether media backups exist.
Keep the editable project and original media in one stable location. Save a backup, close the editor, and reopen the project with the source footage available. A finished export can survive while the editable timeline loses the files it was built from.
Choose the learning curve your project deserves
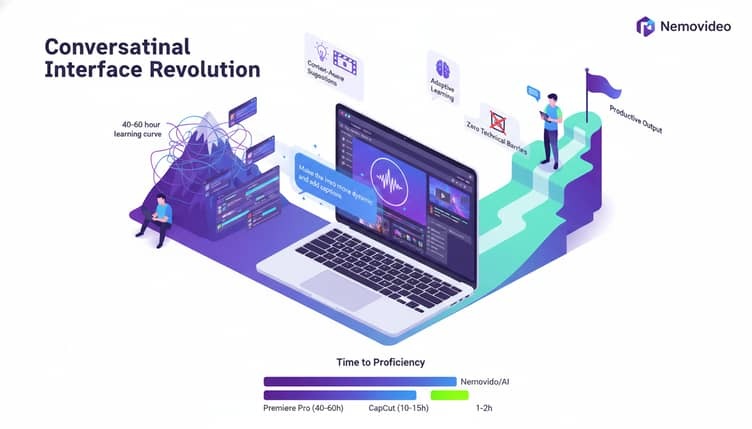
The most advanced editor can slow down a beginner who only needs a clean cut, titles and sound. A short class video rarely benefits from learning an elaborate color-grading interface first.
If you’re starting a series of longer videos, a more complicated editor is worth learning for detailed audio work, broader timeline control, and color tools. Blackmagic provides training materials for DaVinci Resolve, whose free edition is a way into more involved editing. Shotcut also appeals to editors who want local control of project settings.
If cutting, titles and sound already work smoothly, make the next video before learning advanced effects. More complicated editing tools can wait for a project that needs them.
Speak Your Mind